Supercharge Your Note-Taking
Boost Your Productivity with Enhanced Note-taking

I am a Frontend developer transitioning from IT Administration. Passionate about creating seamless user experiences and continuously improving my skills, I aim to become one of the best in frontend development. Let's connect and grow together!
In this demonstration, we will utilize two technologies to achieve an improved note-taking experience:
Note-taking app - we will use Obsidian to capture our professional and educational notes.
Groq API - a free-to-use tool to supercharge your notes application
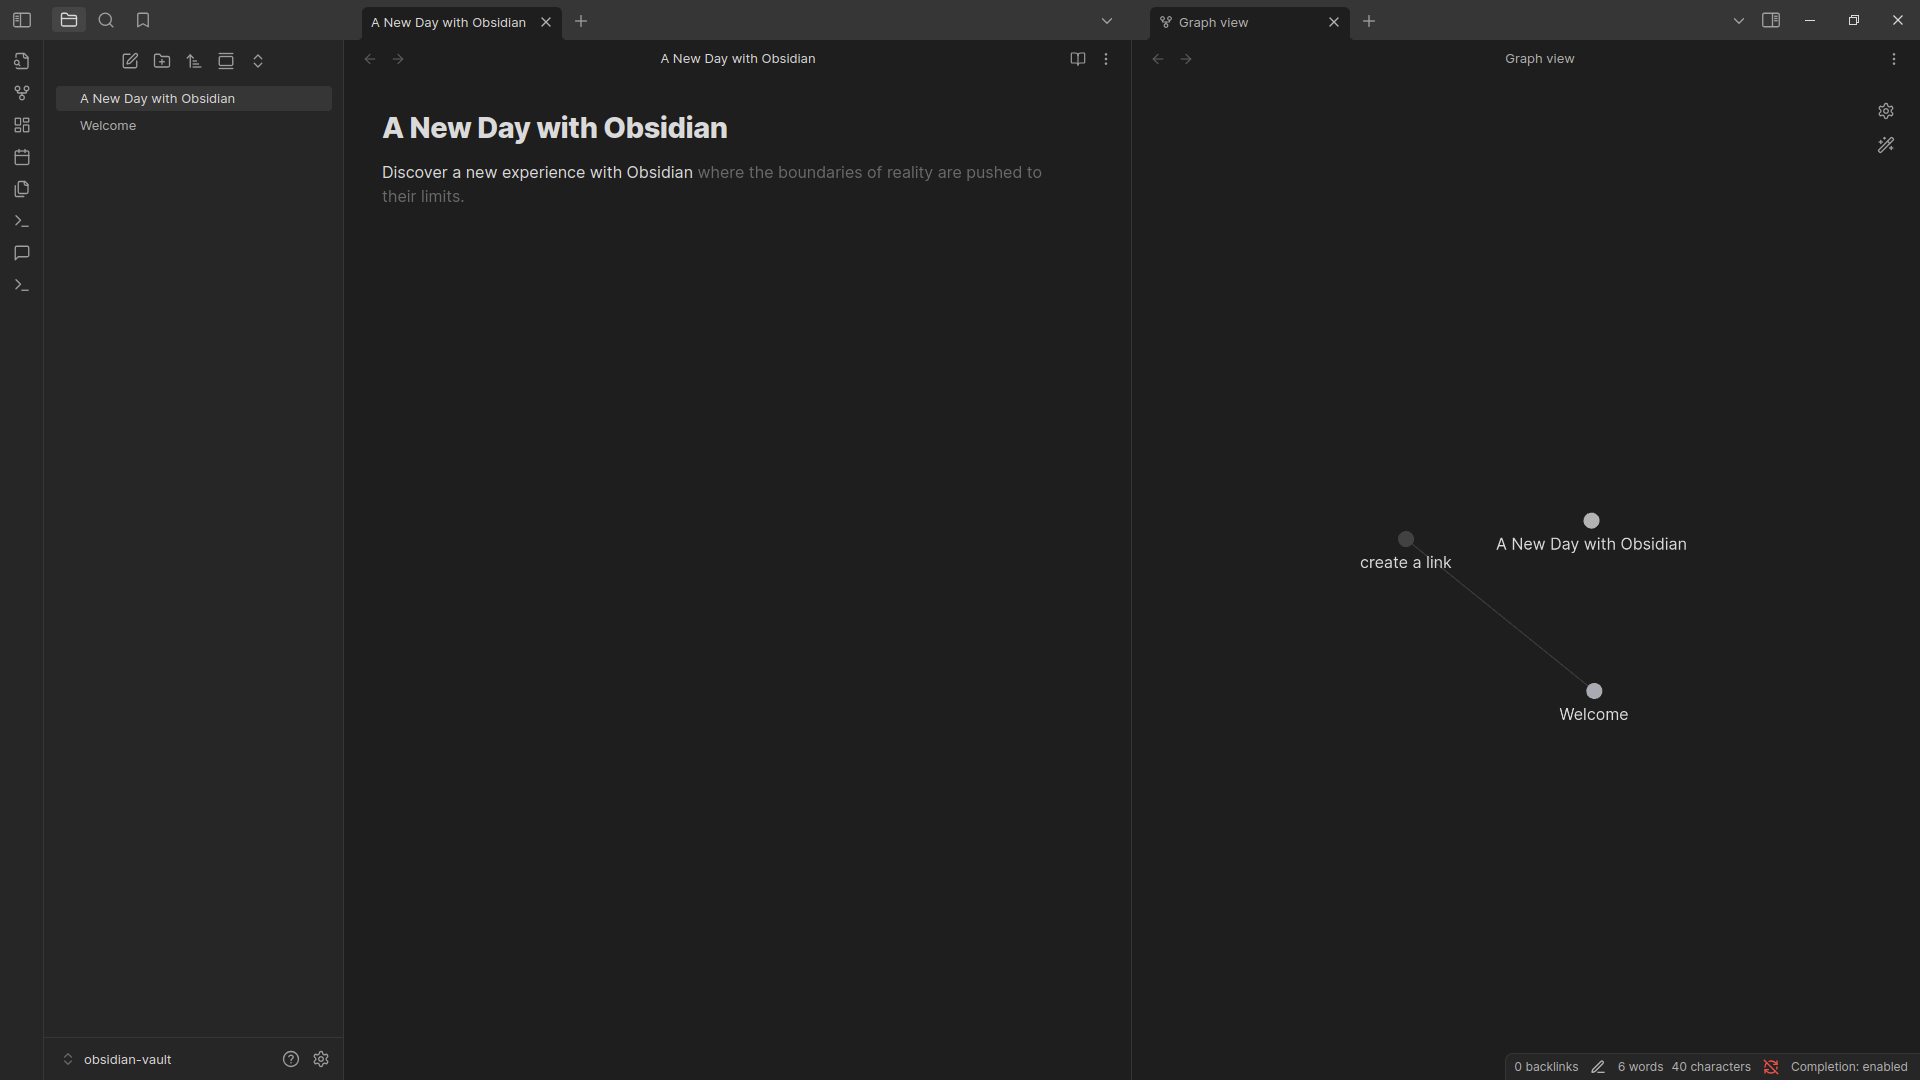
Obsidian Installation
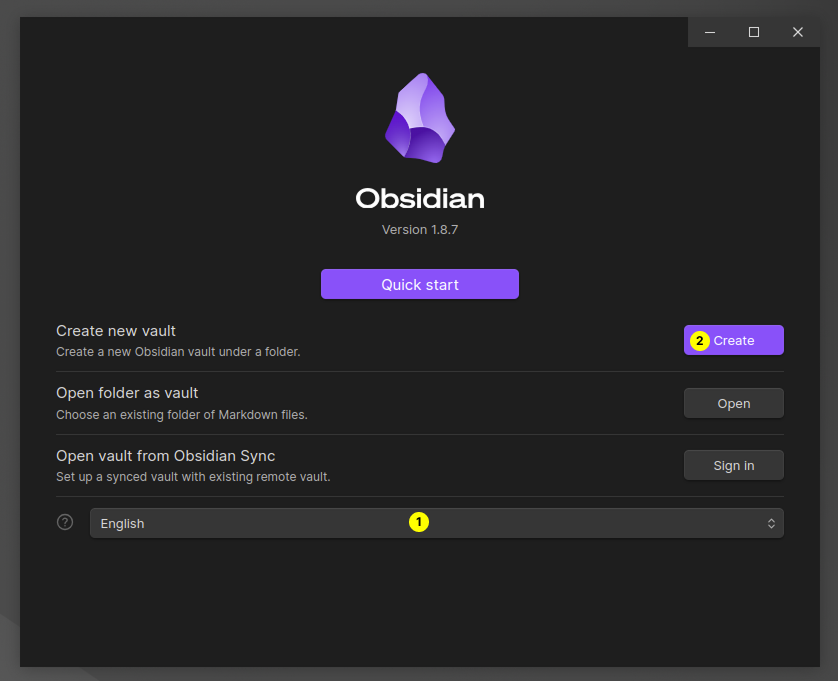
Download and install Obsidian from their website. They support all major operating systems and mobile. Once installed on your machine:
Select preferred language
Create a new vault. This is a folder where all your notes will be stored
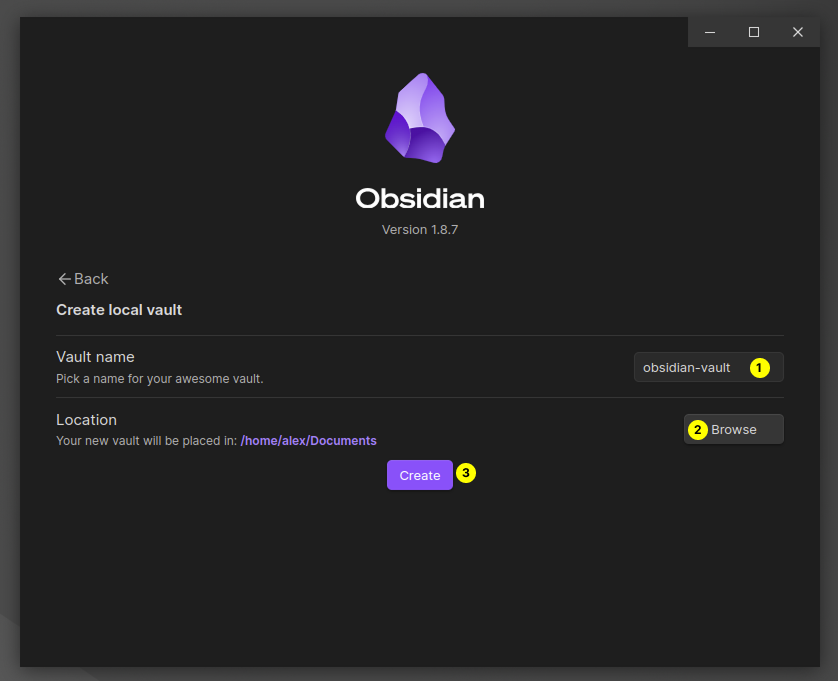
This will open up a vault setup window:
Enter vault name
Browse the location of the vault
Create new vault
Groq Setup
Groq is a programming model and processing architecture developed by Groq Inc., a company that focuses on high-performance machine learning and artificial intelligence hardware. Lucky for us they provide a generous free tier that we can use to integrate with our note-taking app. You can sign up for a free account and get access to several AI models.
Navigate to Groq console and sign up for a free account. You can choose whichever sign-up option you prefer (Email, Github, Google).
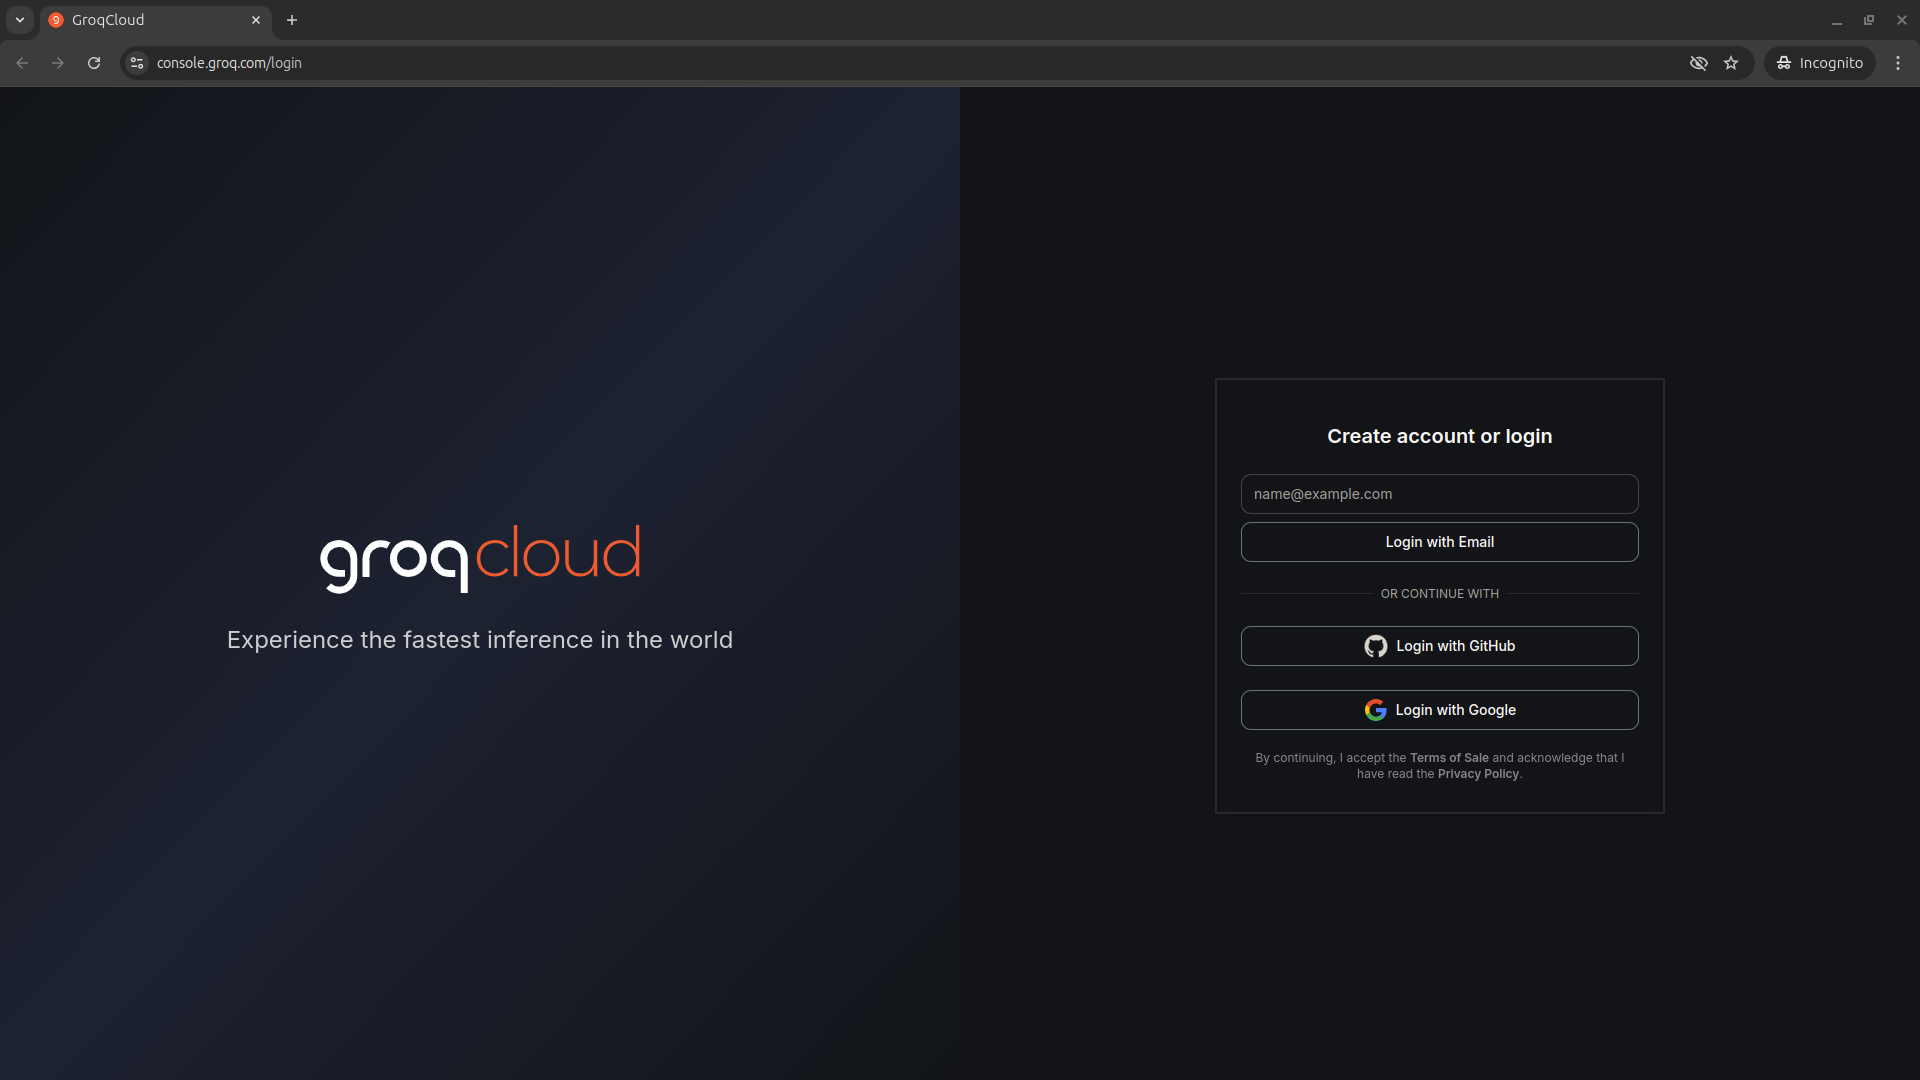
Once signed in:
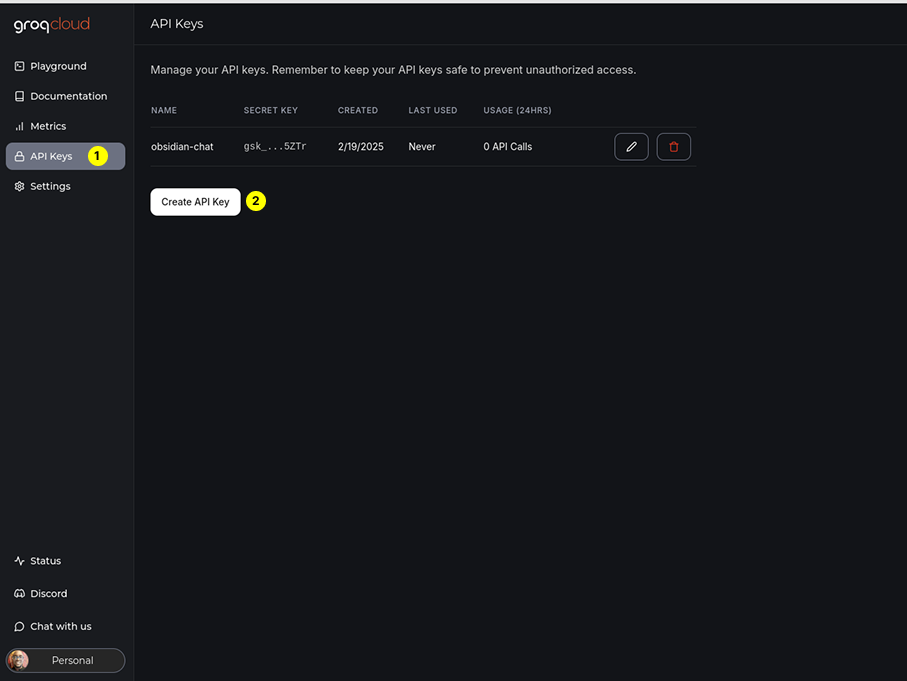
Go to
API KeyspageCreate API key - You will need to give it a name.
Configure Obsidian Plugins
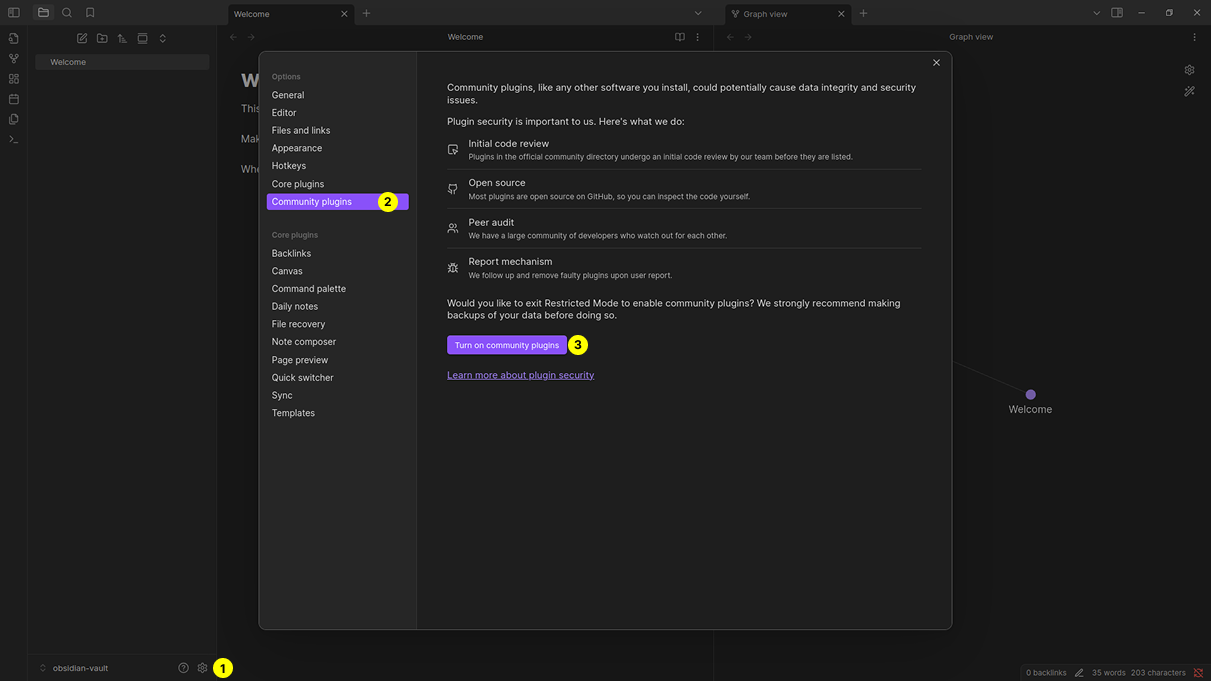
First, we need to enable community plugins for Obsidian. With the app open:
Go to
Settings(click on Settings icon)Navigate to the
Community pluginssectionSelect
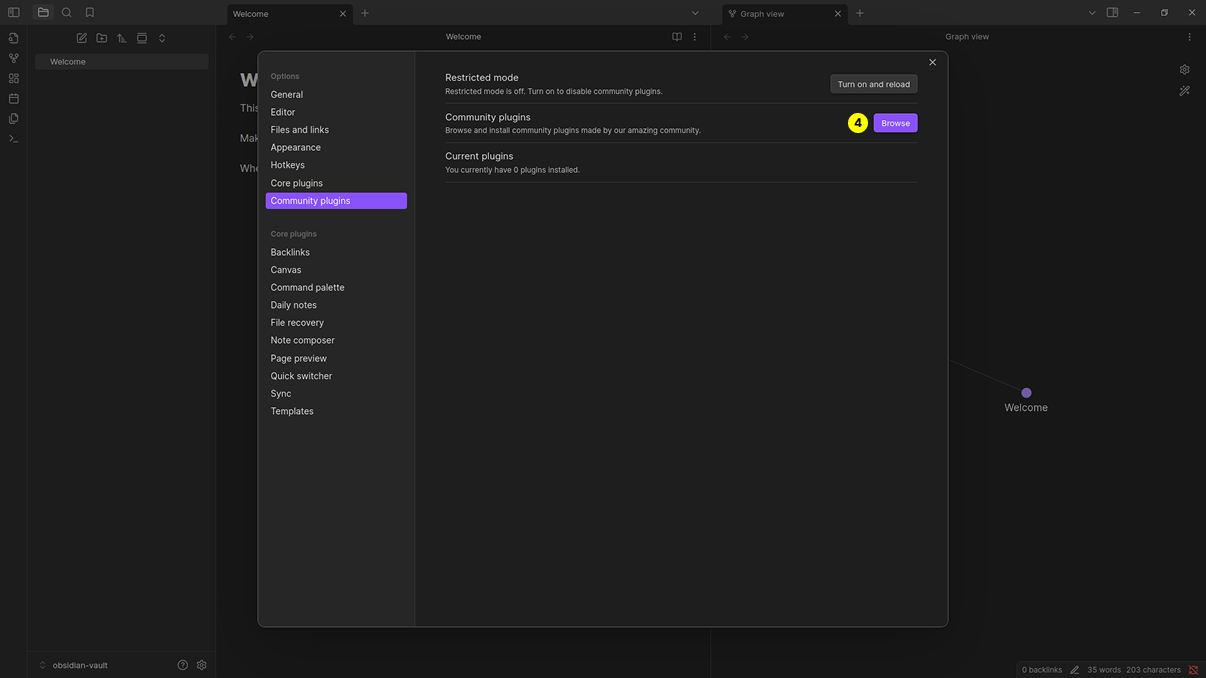
Turn on community pluginsOn the next popup window, click the
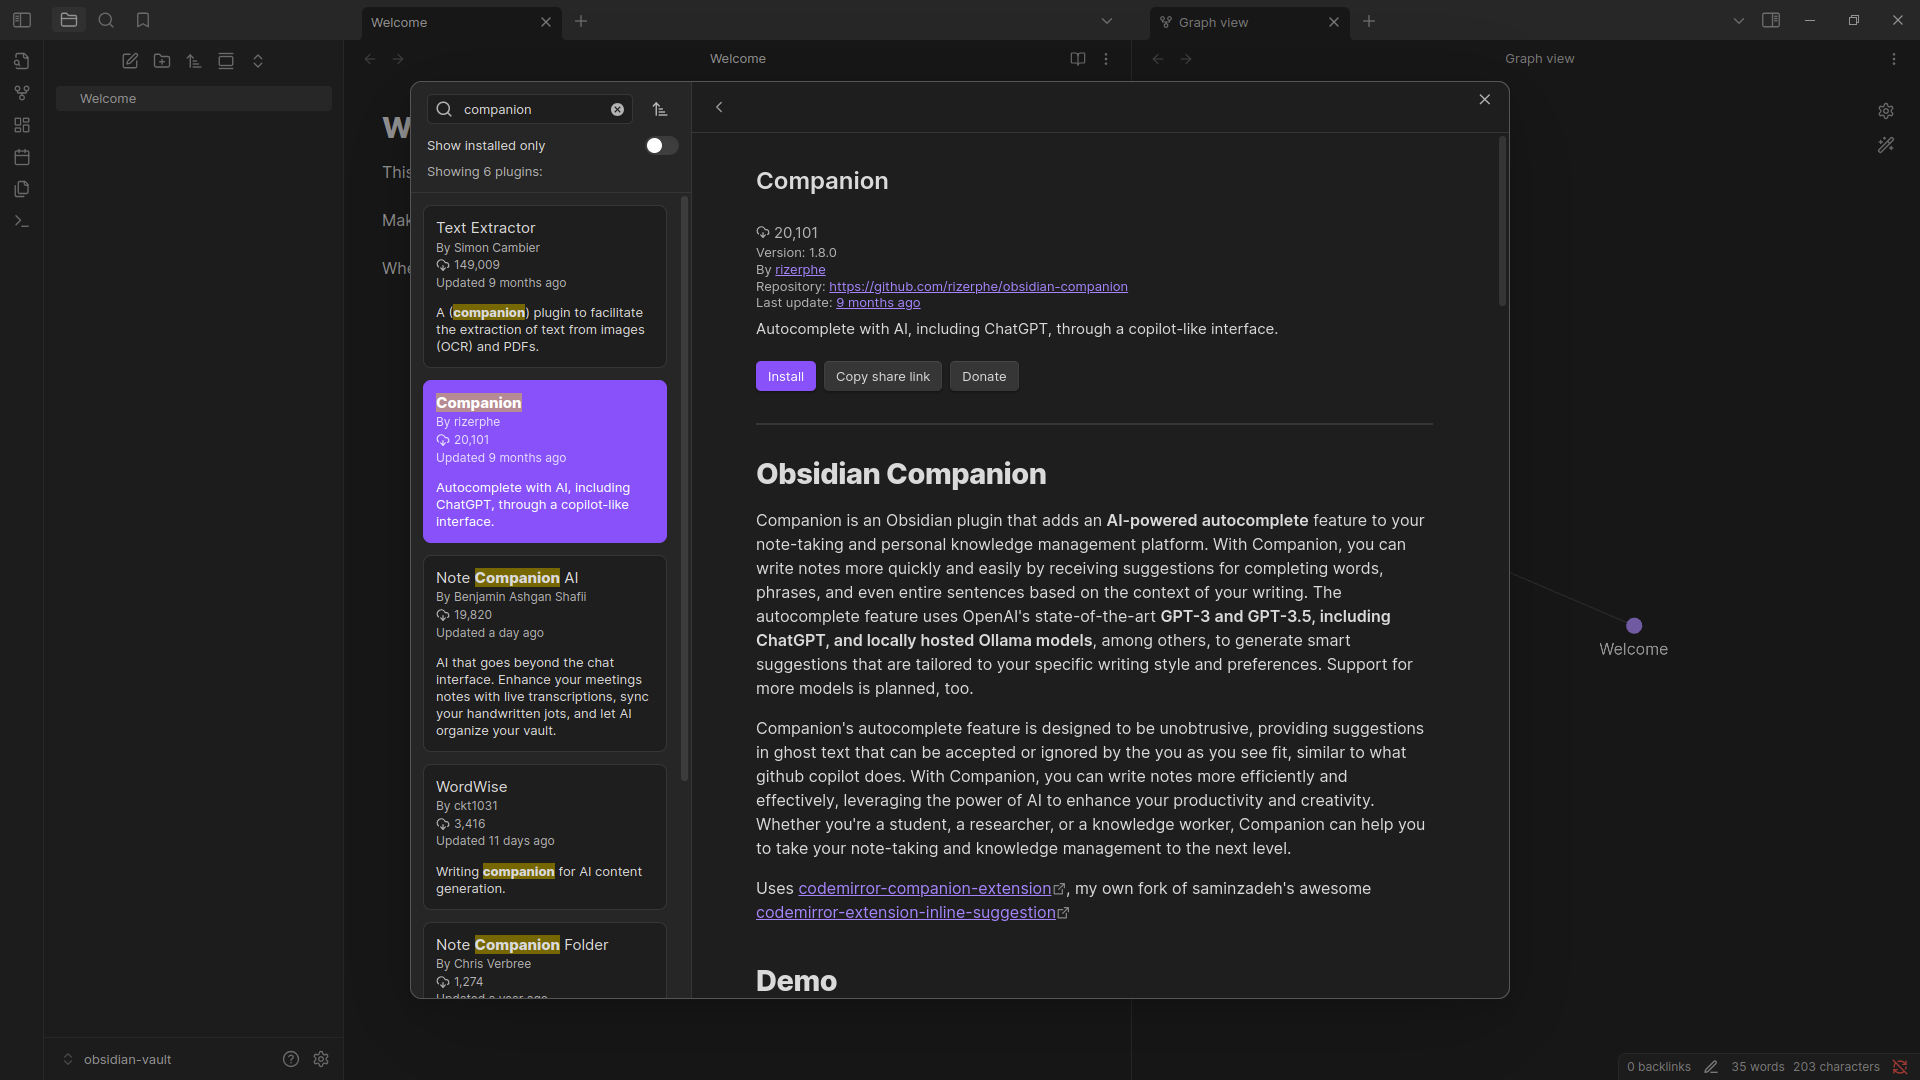
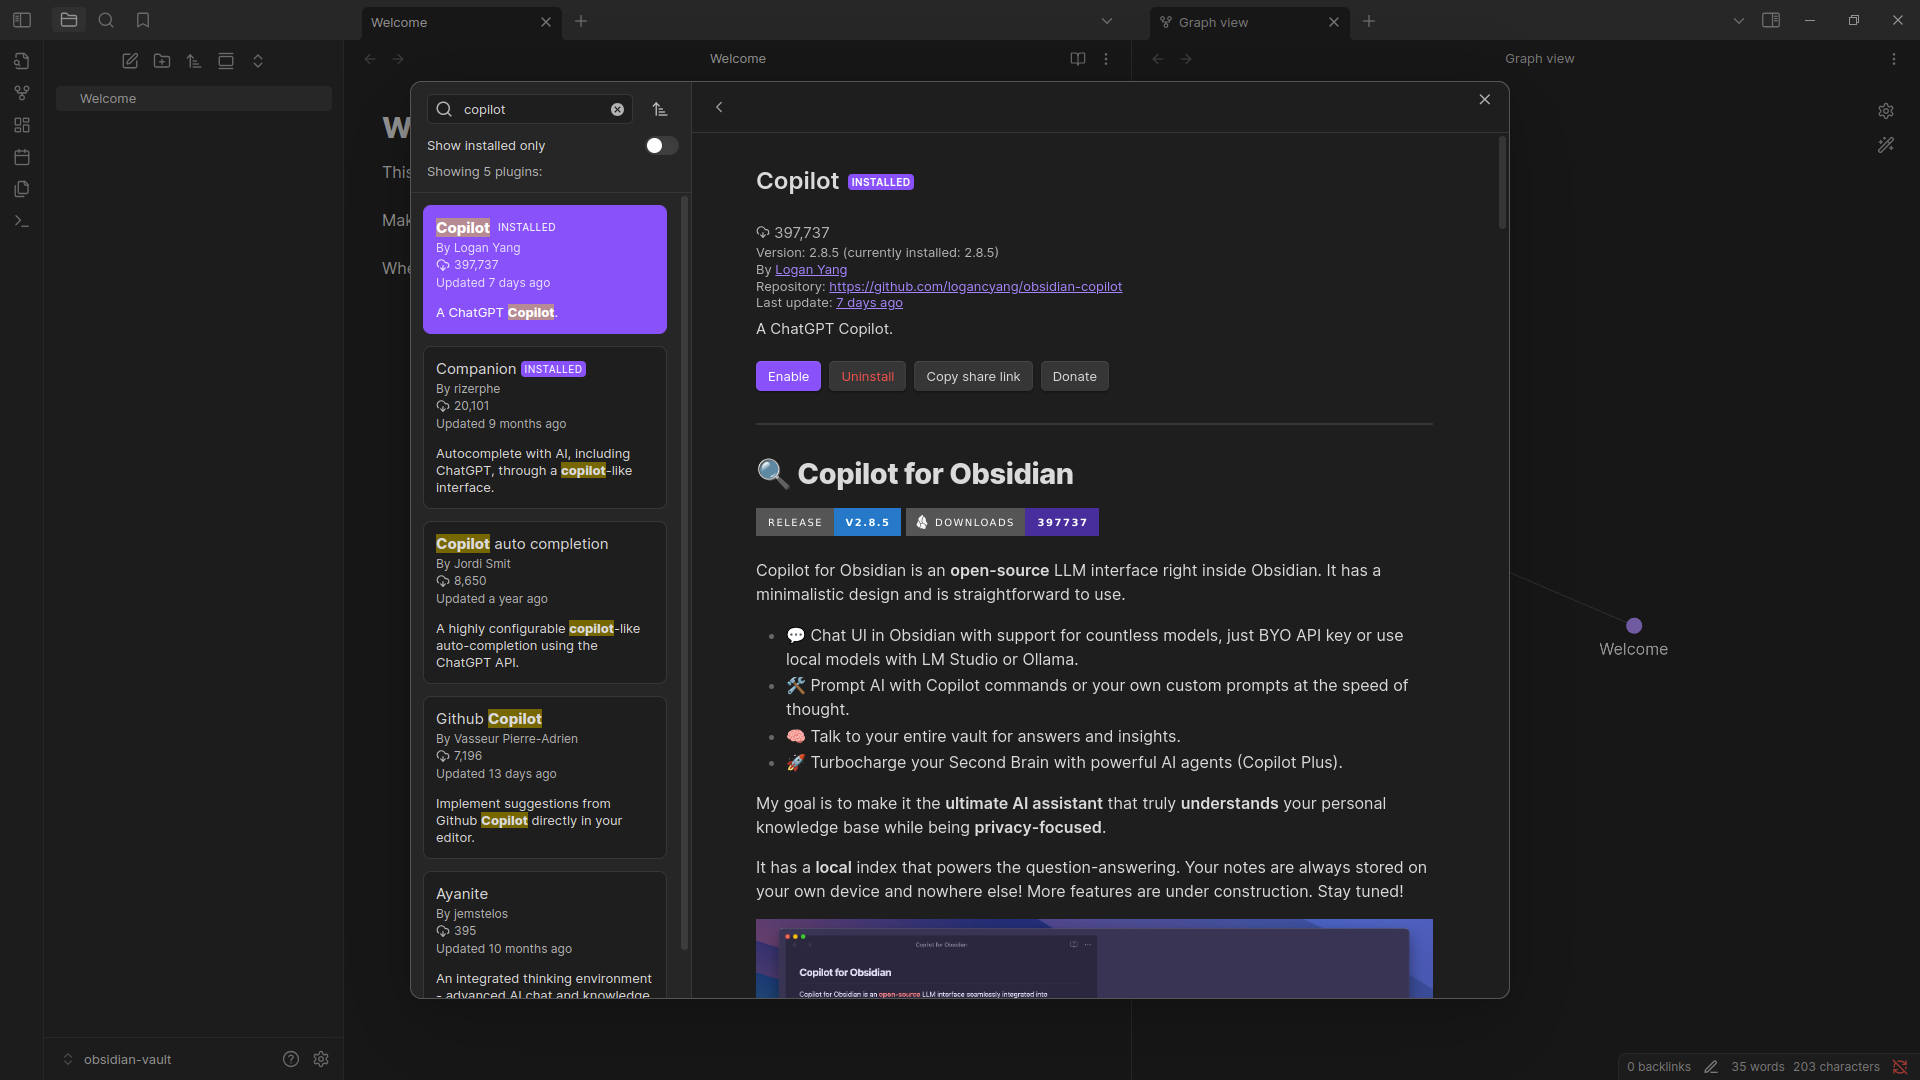
Browsebutton which will show a list of all available plugins.
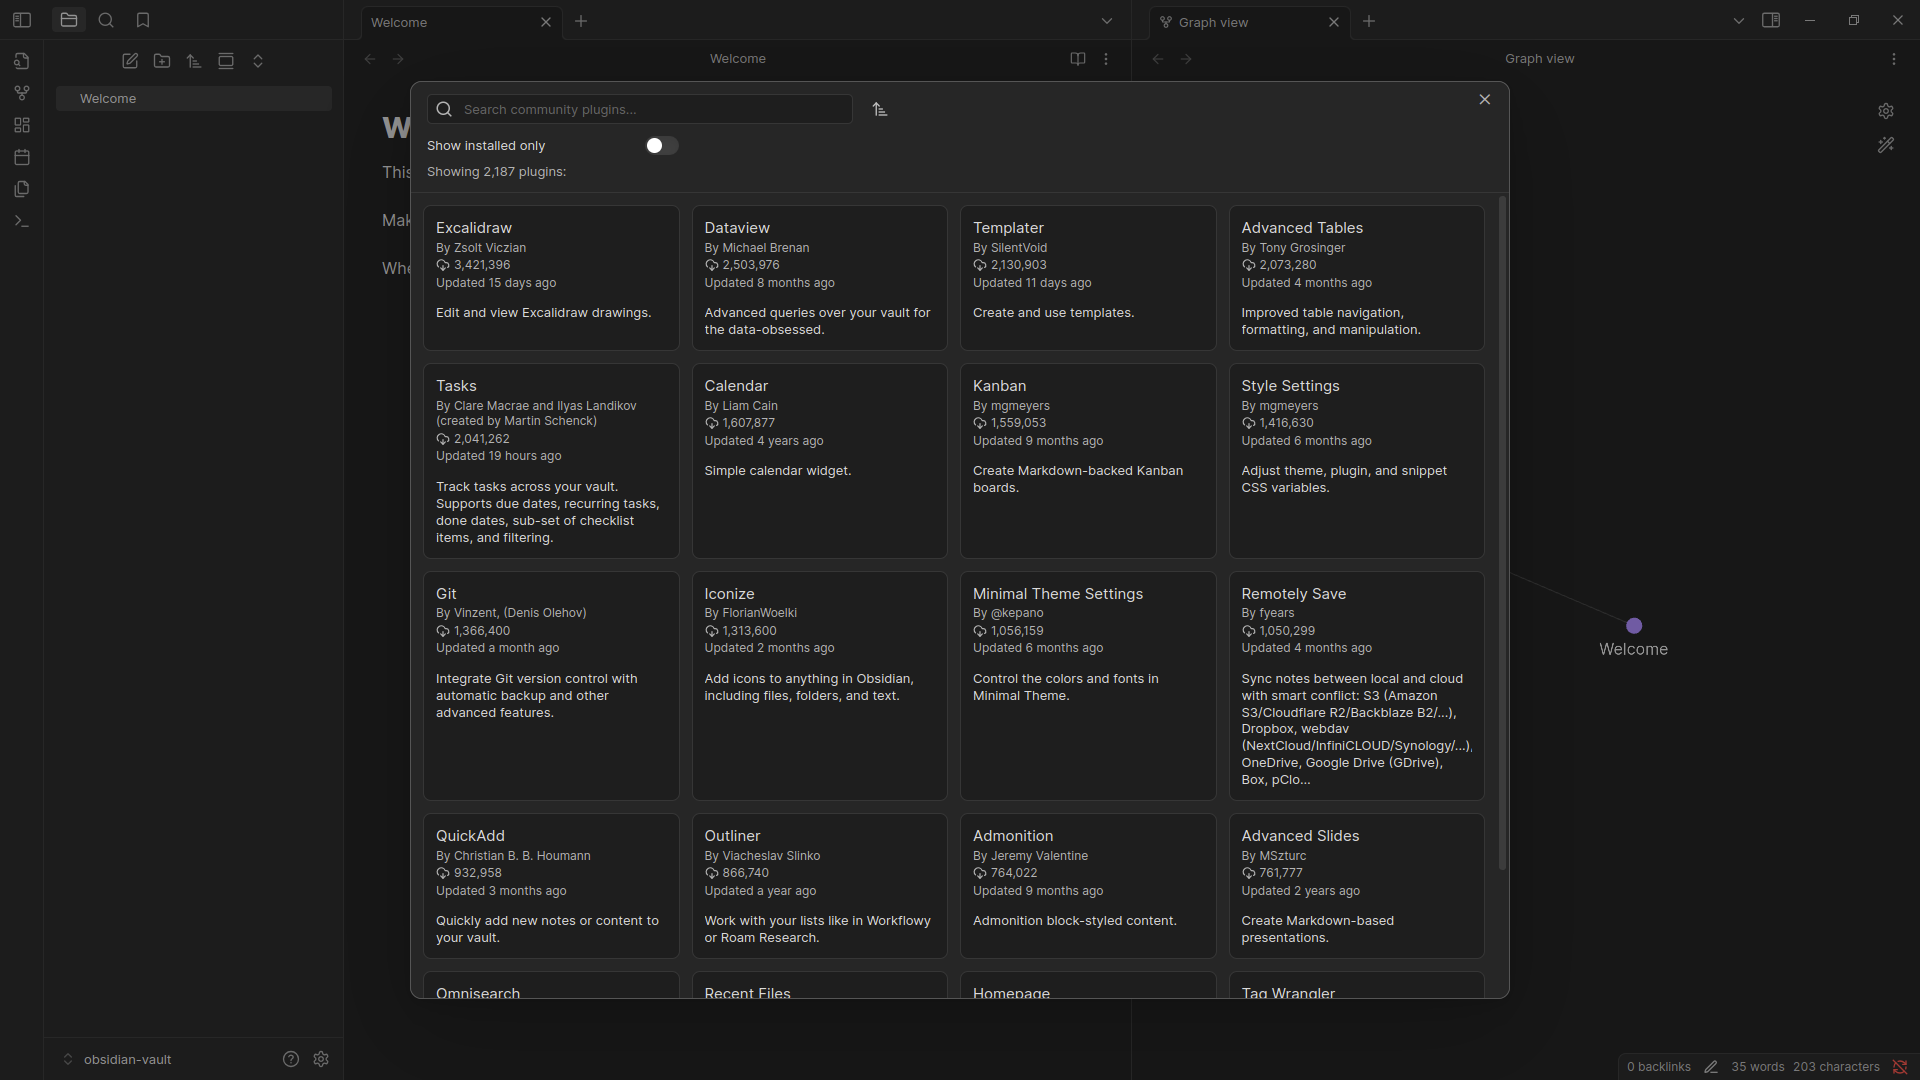
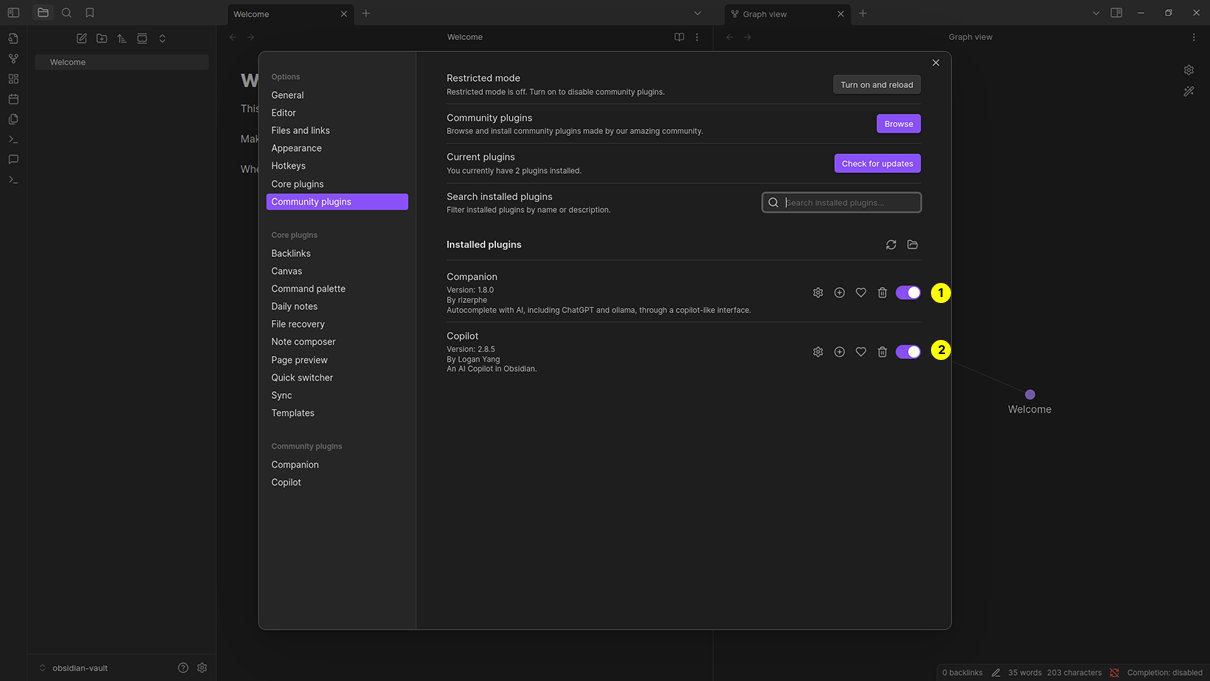
From the list, search and install Companion and Copilot
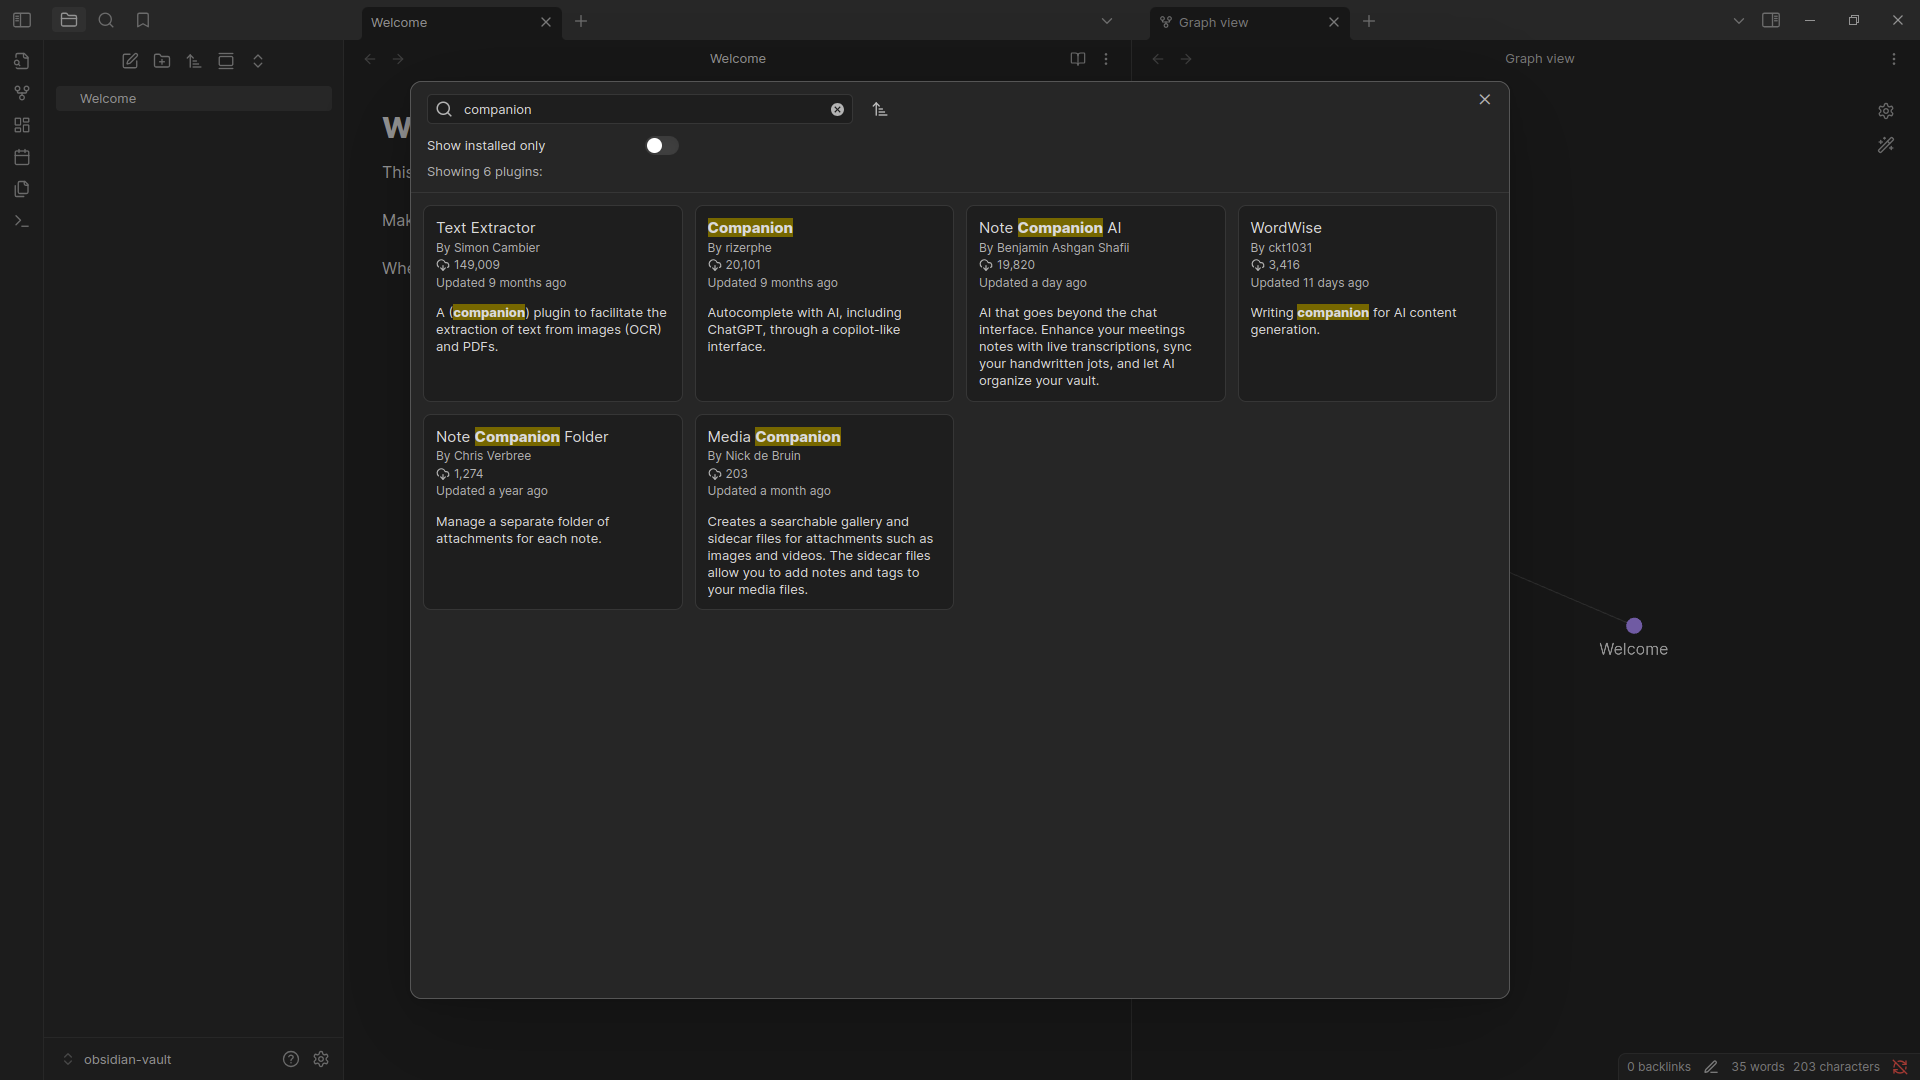
Once both are installed, close the window. Enable both plugins to begin using them.
Companion Configuration
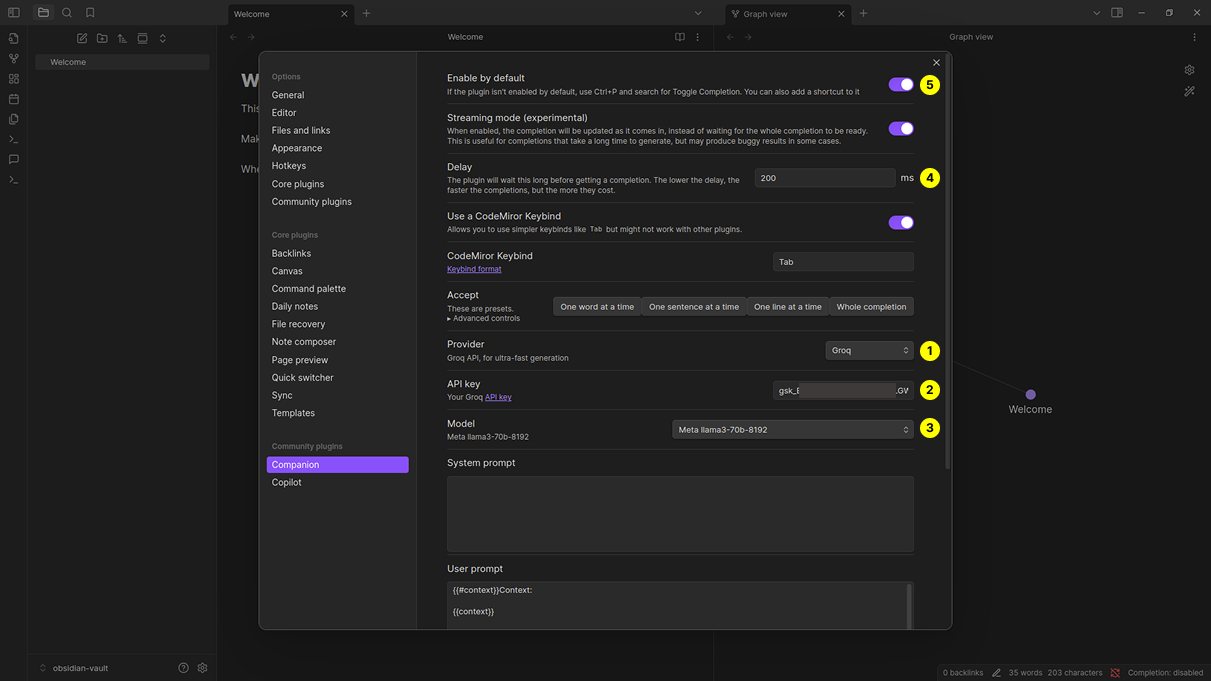
Under Community Settings, select Companion. Setup Groq by following these steps:
Select “Groq” from the
ProviderlistEnter your
API keySelect a
Modelfor example “llama3-70b-8192”Set the
Delayto 200 msToggle
Enabled by defaulton
Close the configuration window and go back to your notes. Create one and start typing. Wait for the delay period specified. You will see Companion in action.
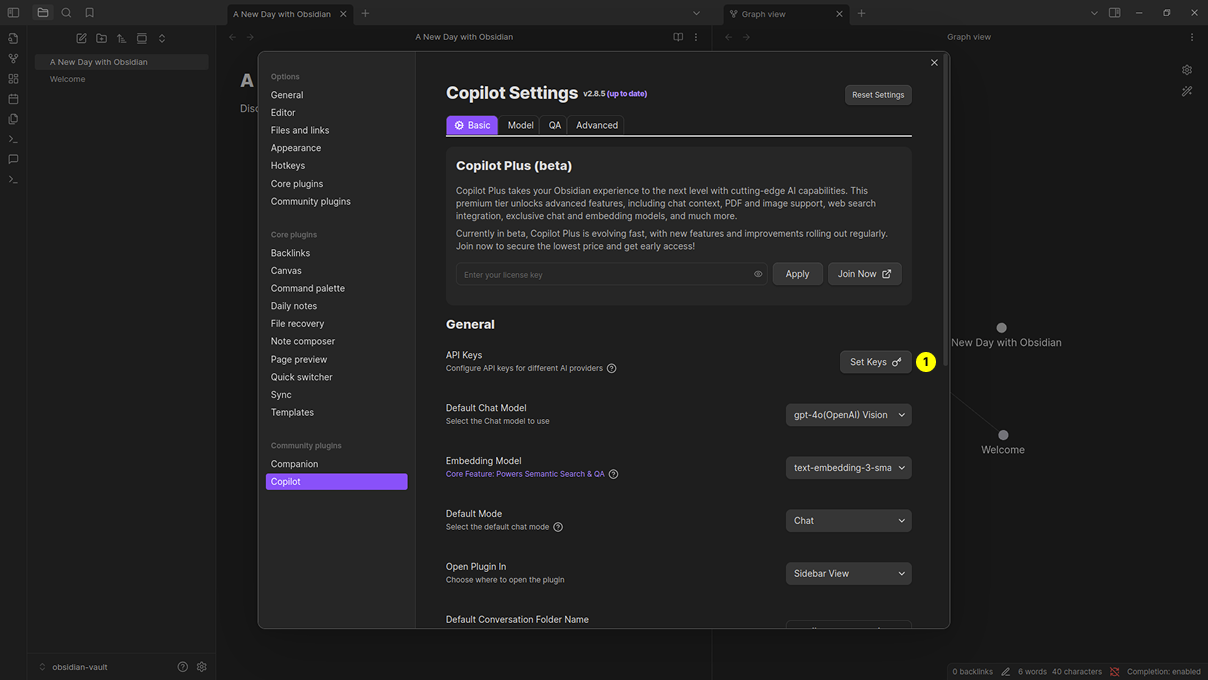
Copilot Configuration
Under Community Settings, select Copilot. Follow these steps:
Against
API Keysclick onSet Keysbutton.In the
AI Provider Settingspopup, paste the API key for Groq. Verify the key.Click on
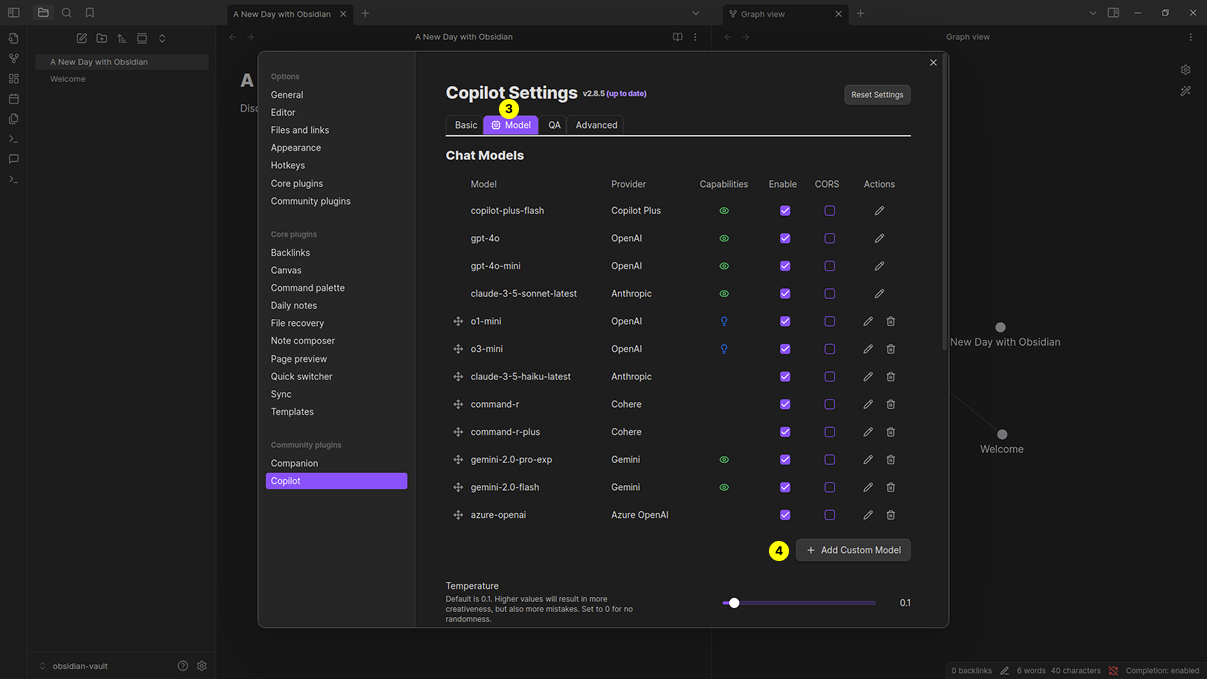
ModeltabClick on
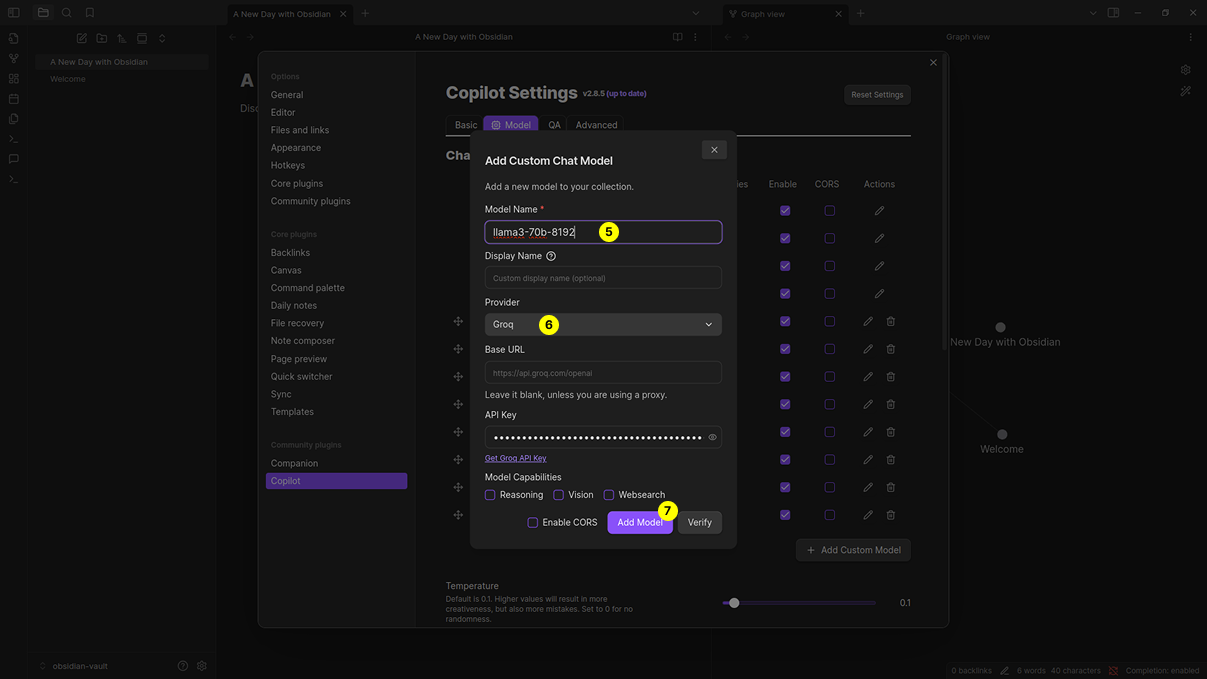
Add Custom ModelbuttonSpecify
Model Name: “llama3-70b-8192”Specify
Provider: “Groq”Click on
Add Model

Testing Copilot
Close the configuration windows. In your notes interface:
Click on the cat icon on the sidebar. This will open a new chat window on the bottom right.
In the chat window, select the model we just created to use for chatting.

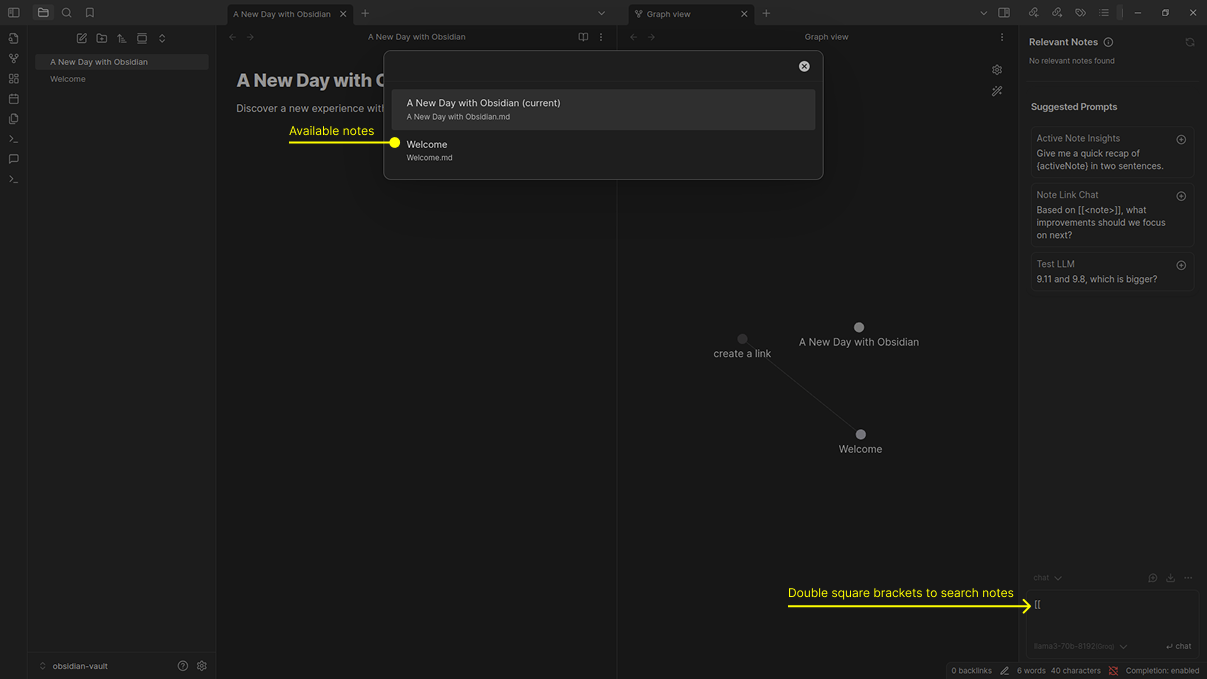
When you want to reference your existing note, type double square brackets “[[” and it will allow you to select your note as a context in the conversation.
That’s it! Enjoy your supercharged Obsidian app.

